


Mid-Season Pitch Renovations
Renovating a cricket pitch after game play is crucial to restore its condition and ensure long-term quality. The maintenance procedures vary based on factors such as the extent of wear, weather conditions, and the time available before the next use. Here are comprehensive steps for renovating a cricket pitch, including the repair of footholes:
Assessment:
- Evaluate the extent of wear and damage to the pitch.
- Inspect the surface for unevenness, compacted areas, and any damage caused during play.
- Identify specific areas that require attention, especially footholes created by bowlers.
Scarification and Thatch Removal:
- Enhance soil aeration and remove excess thatch.
- Use a scarifier to cut through the thatch layer and remove debris.
- This process helps improve water infiltration and root development.
Topdressing:
- Level the surface and introduce new soil.
- Apply a light layer of topdressing material to fill in any low spots and improve surface smoothness.
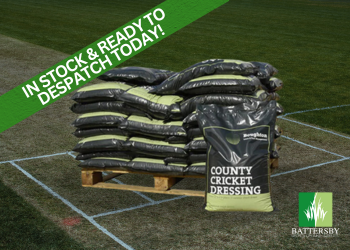
- Choose a compatible topdressing material based on soil composition and playing conditions. This should be the loam that is regularly used across your square. Please avoid using the incorrect loam as this may cause compatibility/playability issues.
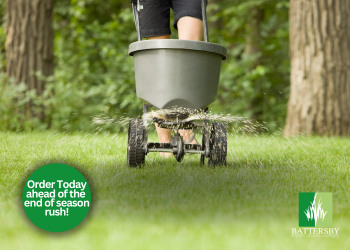
Overseeding:
- Encourage grass recovery and enhance turf density.
- Overseed the pitch with a suitable grass seed mix, paying extra attention to areas with thin grass cover. Please click here to see the range of Cricket square mixes available.
- Choose grass varieties that are resilient and adapted to the local climate.
Fertilization:
- Provide essential nutrients for grass recovery.
- Apply a balanced fertilizer to stimulate healthy grass growth. We recommend the 6-9-6 pre seeder for this purpose.
- Emphasize phosphorus for root development and recovery.
Watering:
- Water the pitch as needed to keep the surface consistently moist during the germination period.
Foothole Repair:
- Address and repair footholes created by bowlers.
- Sweep out any debris around the foothole, creating a clean debris free hole.
- Wet the surface in and around the foothole, ensuring it is damp but not flooded – this will create a bond with the new material.
- Using some loam, create a damp soil mix with some water so that the loam you are using to replace the lost material is damp. This will ensure you can ‘work’ the new material into the surface. Not got any Loam?
- Fill the hole with a suitable soil mix, ensuring it is level with the surrounding surface. You may want to use an ‘elephants foot’ to help tamp your damp loam mixture into the foothole. Throw a little seed into the foothole repair before stamping in
- Overseed the repaired area and apply a light topdressing.
- Monitoring and Further Maintenance:
- Continuously monitor the pitch's recovery.
- Adjust watering and maintenance practices based on seed germination and grass growth.
- Consider additional overseeding and topdressing if needed in specific areas.
Tips for Foothole Repair:
- Prompt Action:
- Address footholes as soon as possible after play to expedite the recovery process.
- Correct Soil Mix:
- Use a soil mix that matches the existing pitch to promote consistent growth.
- Proper Leveling:
- Ensure that the filled foothole is level with the surrounding surface to avoid unevenness.
- Regular Monitoring:
- Keep a close eye on repaired footholes, monitoring grass growth and adjusting maintenance practices accordingly.
In conclusion, should you have a question, please do not hestiate to contact our cricket specialists who are always on hand to help.